Internal websites: Every company has them. For decades, the industry standard was to set up a VPC that gave access to on-premise or cloud private networks that hosted the internal sites.
But now, there's a better way, VPN not required.
This codelab will show how to enable secure authentication on all your AWS frontends and backends without touching your application code. The code here is easily tweakable to handle auth on your client's preview sites, to handle only allowing certain users access to certain sections of your sites, and many other complicated auth flows.
Once you see how easy this is to implement, and how pleasant the user experience is, you'll never want to go back to using a VPN.
Then in 2013, during the Edward Snowden leaks to the Washington Post, this image from an NSA slide became public:

The picture shows an NSA employees depiction of Google's architecture (heavily simplified). At first glance, this picture doesn't show any serious flaw. The Google Cloud is in its own private network, so it should make sense that the data between servers could be in plaintext, right?
Unfortunately, this assumption is no longer a valid one to make. The NSA, under the MUSCULAR program, started physically capturing all data flowing between Google's data centers on their private fiber optic cables. Suddenly that plaintext data didn't seem like such a good idea, and Google became very angry.
They had a brilliant idea, one that they had already been working on for some time, but that could now solve their problem. What if all data flowing around their cloud (public or private) was encrypted? And what if they could move the permissions boundary from being at a network level (where anyone with a VPN can gain access) to a server level (where every single request could have it's own authentication requirements).
This gave birth to BeyondCorp, a set of principles that Google has expanded on in a few whitepapers.
My goodness, BeyondCorp is filled with buzz words. It's zero trust. It's perimiterless. It's context-aware.
That sure is a lot of cool phrases. But what does it look like in real life? Well, let's see what happens when I go to Transcend's internal codelabs site, where we have set up BeyondCorp authentication with our company's GSuite credentials:
There's nothing really fancy or hard to understand here. When I go to the page for the first time in a day, I login with GSuite (and my Yubico MFA key). My login info is cached locally, and for the rest of the day I can browse internal sites without being asked to log in again.
Feel free to check out our internal codelabs site, you won't be able to see its content unless you are in the @transcend.io GSuite org.
Amazon Cognito
AWS has a few services that make implementing BeyondCorp quite manageable. If you're getting nervous and thinking that adding application code to every single frontend and backend in your company sounds like a lot of work, have no fear! And enter Amazon Cognito:
Amazon Cognito is a managed service for authentication management. It connects with many Identity Providers, like Google, Facebook, and Apple, while also supporting generic Identity Providers through SAML and OpenID Connect.
If you aren't familiar with those authentication protocols, just know that this means that in my demo on the previous page, it's trivial to change the GSuite login to be login through Okta, Amazon accounts, your company's custom auth, etc.
No Application Code Changes
One of the best parts about Cognito is that it integrates really nicely into other AWS tools you likely already use. At Transcend, most of our backends have Application Load Balancers (ALBs) in front of them, and most of our frontends are CloudFront distributions.
In the next few sections, we will show you how to integrate Cognito into both
A Cognito User Pool is a directory of users that can login to some application clients. Let's terraform up a user group, as well as a client for a website.
Your code will likely vary depending on what identity provider you want to use and what authorization options you want.
First, let's create a user pool:
resource "aws_cognito_user_pool" "pool" {
  name = "codelab-user-pool"
}
Cognito is a managed service that can create login pages for your for iOS, Android, and web apps. These pages handle all sorts of common auth flows, including registration, login, forgotten passwords, etc.
But what if you only want to use username/password auth? Or if you want to customize the password requirements? Or change the UI colors and text? All those customizations and more fall into the control of User Pool App Clients.
Let's create one that only allows username/password auth with a bunch of default settings:
locals {
  domain         = "codelabs.dev.trancsend.com"
  backend_alias  = "beyondcorp-alb.${local.domain}"
  frontend_alias = "beyondcorp-cloudfront.${local.domain}"
}

resource "aws_cognito_user_pool_client" "client" {
  name                = "codelab-user-pool-client"
  user_pool_id        = aws_cognito_user_pool.pool.id
  generate_secret     = true
  allowed_oauth_flows = ["code"]
  callback_urls = [
    "https://${local.backend_alias}/oauth2/idpresponse",
    "https://${local.frontend_alias}",
  ]
  allowed_oauth_scopes                 = ["email", "openid"]
  allowed_oauth_flows_user_pool_client = true
  supported_identity_providers         = ["COGNITO"]
  explicit_auth_flows = [
    "ALLOW_CUSTOM_AUTH",
    "ALLOW_REFRESH_TOKEN_AUTH",
    "ALLOW_USER_SRP_AUTH",
  ]
}
Lastly, let's create a domain. This hosted UI for authentication needs to exist at some url on the web, and Amazon let's you easily specify where you want your login page to live (either under their amazoncognito.com domain or on your own custom domain).
In this example, let's make a subdomain that will enable our login site at https://codelab-beyondcorp-alb.auth.us-east-1.amazoncognito.com/:
resource "aws_cognito_user_pool_domain" "domain" {
  domain       = "codelab-beyondcorp-alb"
  user_pool_id = aws_cognito_user_pool.pool.id
}
Now that we have a Cognito User Group, we can connect it to our backend applications. It's pretty common for most backend routes to already have some sort of authentication, so you only really need to add Cognito on those that don't.
AWS Application Load balancers, which many of you likely already have in front of your apps, give this sort of fine grained control.
Let's build an app!
In this section, we will build a complete application with a public route and a private route (requiring login through the Cognito User Pool from the last section), all in around 100 lines of terraform!
First, let's create a Virtual Private Cloud (VPC) to put the load balancer in. In most of your applications, you would also have to add private subnets to put your EC2s, ECS services, Autoscaling groups, databases, etc. in:
provider "aws" {
  version = "~> 2.0"
  region  = "us-east-1"
}

module "vpc" {
  source  = "terraform-aws-modules/vpc/aws"
  version = "~> 2.18.0"

  name = "codelab-vpc"
  cidr = "10.0.0.0/16"
  azs  = ["us-east-1a", "us-east-1b"]

  # For the load balancer
  public_subnets = ["10.0.201.0/24", "10.0.202.0/24"]
}
Now, let's add in resources for an SSL certificate through the Amazon Certificate Manager (ACM). This SSL cert will be used for our frontend and backend:
data "aws_route53_zone" "this" {
  name = local.domain
}

module "acm" {
  source  = "terraform-aws-modules/acm/aws"
  version = "~> 2.0"

  zone_id                   = data.aws_route53_zone.this.id
  domain_name               = local.domain
  subject_alternative_names = [
    local.backend_alias,
    local.frontend_alias,
  ]
}
From a security perspective, we only want to talk to our ALB on port 443 (HTTPS), so we can make this explicit with a security group:
module "security_group" {
  source  = "terraform-aws-modules/security-group/aws"
  version = "~> 3.0"

  name   = "alb-codelab"
  vpc_id = module.vpc.vpc_id

  ingress_cidr_blocks = ["0.0.0.0/0"]
  ingress_rules       = ["https-443-tcp"]
  egress_rules        = ["all-all"]
}
Now for the fun part, let's create an application load balancer! Because there are so many different AWS services you can stick behind an ALB, I'm going to just used fixed HTTPS responses to keep this section generic.
module "alb" {
  source  = "terraform-aws-modules/alb/aws"
  version = "~> 5.9.0"

  name = "beyondcorp-codelab"

  load_balancer_type = "application"

  # Put the ALB in the VPC created above, with only port 443 open
  vpc_id          = module.vpc.vpc_id
  security_groups = [module.security_group.this_security_group_id]
  subnets         = module.vpc.public_subnets

  # Only listen on port 443, using the SSL certificate from above
  https_listeners = [{
    port            = 443
    certificate_arn = module.acm.this_acm_certificate_arn
  }]

  https_listener_rules = [
    # Create a fixed-response for path `/public`
    {
      https_listener_index = 0
      actions = [{
        type         = "fixed-response"
        content_type = "text/plain"
        status_code  = 200
        message_body = "This is a public response"
      }]

      conditions = [{ path_patterns = ["/public"] }]
    },
    # Require authentication for path `/private`
    {
      https_listener_index = 0
      actions = [
        {
          type                = "authenticate-cognito"
          user_pool_arn       = aws_cognito_user_pool.pool.arn
          user_pool_client_id = aws_cognito_user_pool_client.client.id
          user_pool_domain    = aws_cognito_user_pool_domain.domain.domain
        },
        {
          type         = "fixed-response"
          content_type = "text/plain"
          status_code  = 200
          message_body = "This is private response, only accessible with Cognito auth"
        },
      ]

      conditions = [{ path_patterns = ["/private"] }]
    }
  ]

  # In this codelab, we don't register anything to this target group to keep the example simple.
  target_groups = [{
    name             = "beyondcorp-alb"
    backend_port     = 443
    backend_protocol = "HTTPS"
  }]
}
If you had a real world application where you register other AWS services to a target group you created, this example would only need to have a slight change. Instead of having fixed-response rules, you would forward traffic to your target groups with forward rules. Check the verified module page for how to handle any situation with your ALB.
For the final step, let's point a DNS record at our ALB so we can easily access it:
module "dns" {
  source          = "git::https://github.com/cloudposse/terraform-aws-route53-alias.git?ref=tags/0.4.0"
  aliases         = [local.backend_alias]
  parent_zone_id  = data.aws_route53_zone.this.id
  target_dns_name = module.alb.this_lb_dns_name
  target_zone_id  = module.alb.this_lb_zone_id
}
Deploying with Terraform
Running the following commands will show you all the infrastructure we've described so far:
terraform init
terraform plan -out planfile.out
If the plan looks good, create it with:
terraform apply planfile.out
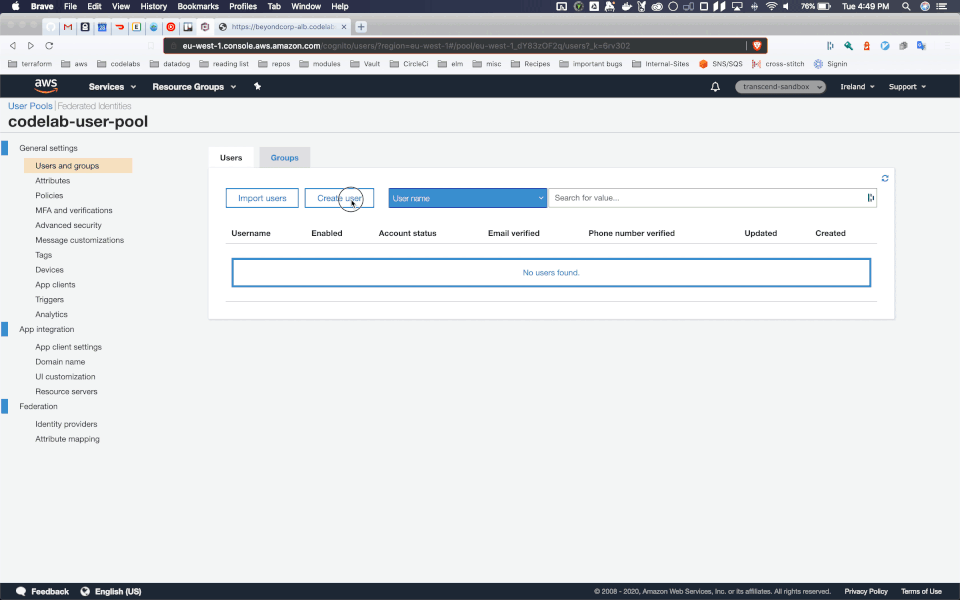
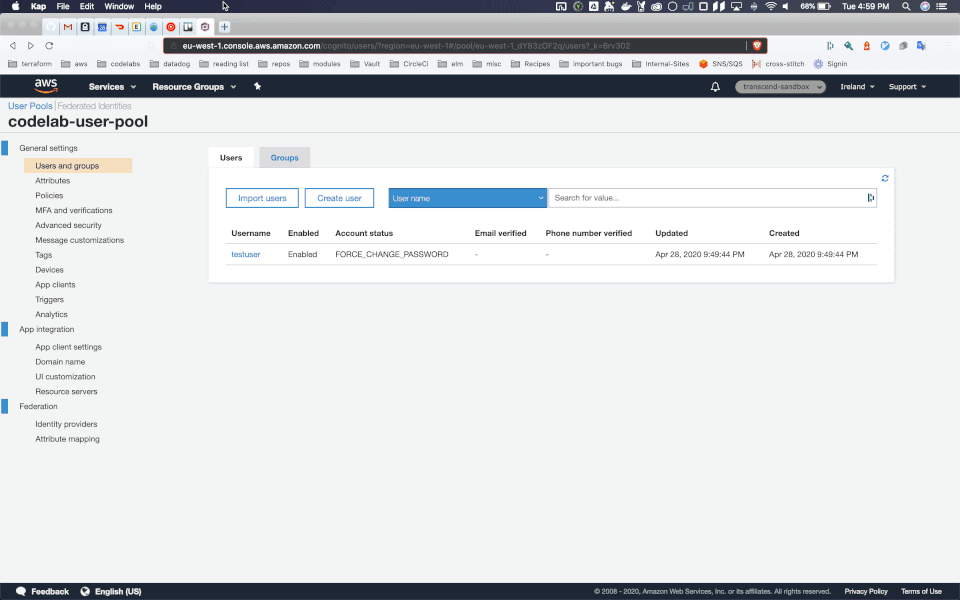
I took the liberty of manually creating a user with username "testuser" and password "Test123!", which can be done in the console like this:
I'll skip over the details of all the options you have for users in this codelab, as many of you will likely use the non built in Identity Provider, but if you are interested in what options you have you can read more here
Now, let's see what happens when we go to the public url, at https://beyondcorp-alb.codelabs.dev.trancsend.com/public :

And what about if we go to the private url, https://beyondcorp-alb.codelabs.dev.trancsend.com/private ? It will make us log in first before we can see the content:
Once you log in for the first time, a cookie is stored that will give you access to that entire site for a few hours.
So from your internal user perspective, they only will have to login once every long while. And from a security perspective, you can be confident that your private routes are kept private.
In this tutorial, we'll add authentication to a CloudFront distribution using Lambda@Edge functions.
What is CloudFront?
CloudFront is Amazon's managed CDN service for hosting all sorts of static content. If you want to host a static website with SSL, it's a very common practice to make a CloudFront distribution with an S3 bucket as the origin of its content.
So you put your static content in an S3 bucket, and then Amazon distributes that content globally in a CDN so that users worldwide can quickly access it. The various caches around the world that CloudFront hosts your content out of are called Edges.
What is Lambda@Edge?
Static content is cool, but occasionally you want some dynamic content mixed in. In the ancient times, software developers would necessarily put all their dynamic content onto backend servers. But those dark days are behind us, as AWS gives us a powerful way to add small pieces of dynamic content to our CloudFront CDNs: Lambda@Edge!
You supply small Lambda functions that can run in response to a variety of events that happen when your CloudFront content is requested.
Now that we have a common understanding of what CloudFront and Lambda@Edge are, let's use terraform to make a CloudFront distribution, with an S3 origin, protected by a Lambda@Edge function. And let's do it in just 45 quick lines!
First up, let's create a Lambda@Edge function:
module "lambda_at_edge" {
  source = "git::git@github.com:transcend-io/beyondcorp-cloudfront//terraform-module?ref=0.0.3"

  name                         = "codelab_cognito_auth"
  description                  = "Cognito Lambda@Edge for codelabs"
  ssm_client_secret_param_name = "codelab_client_secret"

  userpool_id     = aws_cognito_user_pool.pool.id
  client_id       = aws_cognito_user_pool_client.client.id
  client_secret   = aws_cognito_user_pool_client.client.client_secret
  userpool_region = "us-east-1"
  ui_subdomain    = aws_cognito_user_pool_domain.domain.domain
  scopes          = aws_cognito_user_pool_client.client.allowed_oauth_scopes
}
The exact contents of that function are highly similar to what the built in functionality in ALBs offers. Maybe someday we'll see Cognito integration straight into CloudFront, but for now we can use this function.
If you're interested in the full source of the function, checkout: https://github.com/transcend-io/beyondcorp-cloudfront
One of the coolest parts of this Lambda function is that you can reuse it on multiple CloudFront distributions, as long as the other frontends should allow the same Cognito User Pool to authenticate!
Now that our Lambda@Edge function is ready, let's create a CloudFront distribution with an S3 origin and our SSL certificate we made before:
module "cloudfront" {
  source = "git::https://github.com/cloudposse/terraform-aws-cloudfront-s3-cdn.git?ref=master"

  # General settings
  namespace          = "codelab-example"
  name               = "cognito"
  comment            = "Example frontend for Cognito auth"
  encryption_enabled = true

  # DNS settings
  aliases             = [local.frontend_alias]
  parent_zone_name    = local.domain
  acm_certificate_arn = module.acm.this_acm_certificate_arn

  # CORS settings
  cors_allowed_origins = ["*"]
  cors_allowed_headers = ["Authorization"]

  # Website settings
  website_enabled = true
  index_document  = "index.html"
  error_document  = "index.html"

  # Lambda@Edge setup
  lambda_function_association = [{
    event_type   = "viewer-request"
    include_body = false
    lambda_arn   = module.lambda_at_edge.arn
  }]
}
And that's it! If you apply with terraform, you'll have a website protected by authentication. You can publish website content to the origin S3 bucket in your normal CI/CD pipeline, or any other way you'd like.
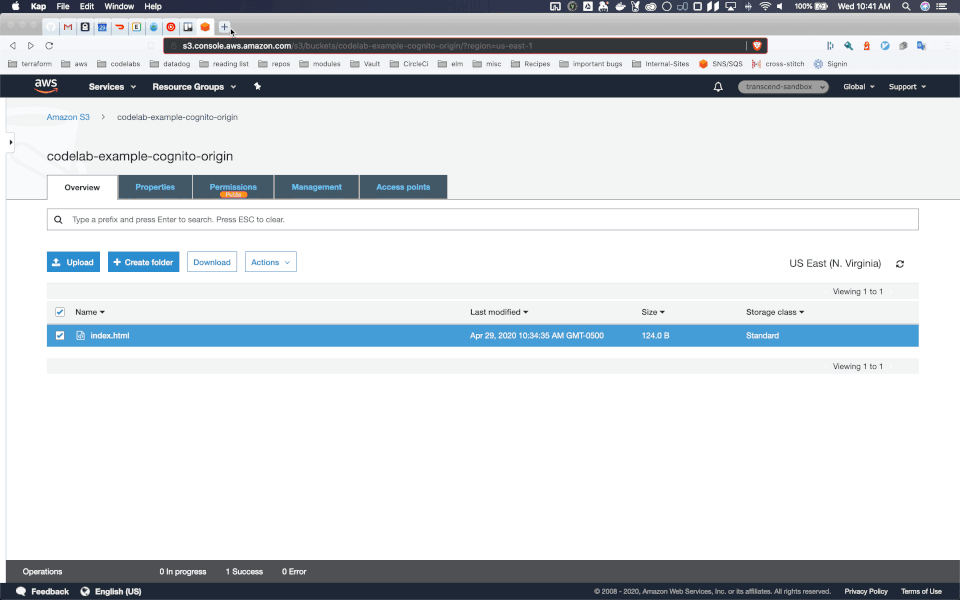
For a quick example site, I populated an index.html file in the bucket with:
resource "aws_s3_bucket_object" "website" {
  bucket       = module.cloudfront.s3_bucket
  key          = "index.html"
  content      = "<h1>Hidden website</h1>"
  content_type = "text/html"
}
Check out our example at https://beyondcorp-cloudfront.codelabs.dev.trancsend.com, where you can login with username testuser and password Test123!.
A demo can be seen here:
That's all you need!
With around 200 lines of terraform, we've created a frontend application, backend application, SSL certificate for both apps, and authentication mechanisms that protect both apps.
Protecting frontend and backend code has never been easier, and doing so at an infrastructure level enables you to let your apps focus on just what they ought to.
We'll leave our demos up as examples:
- public backend route: https://beyondcorp-alb.codelabs.dev.trancsend.com/public
- private backend route: https://beyondcorp-alb.codelabs.dev.trancsend.com/private
- private frontend: https://beyondcorp-cloudfront.codelabs.dev.trancsend.com
Here are some of the many awesome resources I used to create these demos:
- Lambda@Edge module for a variety of auth sources: https://github.com/Widen/cloudfront-auth
- BeyondCorp site hosted by Okta: https://beyondcorp.com/
- AWS blog on validating JWTs with Lambda@Edge: https://aws.amazon.com/blogs/networking-and-content-delivery/authorizationedge-how-to-use-lambdaedge-and-json-web-tokens-to-enhance-web-application-security/
- Sample code to decode and validate JWTs in python and typescript: https://github.com/awslabs/aws-support-tools/tree/master/Cognito/decode-verify-jwt
- Sample code for validating JWTs from Cognito: https://github.com/aws-samples/authorization-lambda-at-edge/blob/master/node/lambda-edge-function/index.js
- Sample JSON for a Lambda@Edge event from CloudFront: https://github.com/aws-samples/authorization-lambda-at-edge/blob/master/node/lambda-edge-function/test-event.json
- Accessing cookies in Lambda@Edge: https://docs.aws.amazon.com/AmazonCloudFront/latest/DeveloperGuide/lambda-examples.html
- Why we can only use
codeoauth flows: https://stackoverflow.com/questions/14707345/oauth2-query-string-vs-fragment - Setting up a Cognito App Client: https://docs.aws.amazon.com/cognito/latest/developerguide/cognito-user-pools-app-idp-settings.html
- Full Structure of Lambda@Edge event data types: https://docs.aws.amazon.com/AmazonCloudFront/latest/DeveloperGuide/lambda-event-structure.html
- Great UML diagram for using GSuite auth via Cognito on frontends: https://www.awsadvent.com/2018/12/18/quick-and-easy-beyondcorp-backoffice-access-with-albs-cognito-and-gsuite/
- Auth0 protection for frontends (not with Cognito, but a similar design): https://www.experoinc.com/post/serverless-authentication
- AWS Amplify library for Cognito tokens: https://blog.jsecademy.com/how-to-authenticate-users-with-tokens-using-cognito/
- How to generate responses in Lambda@Edge functions: https://docs.aws.amazon.com/AmazonCloudFront/latest/DeveloperGuide/lambda-generating-http-responses-in-requests.html
- Setting cookies on Viewer-Request Lambda@Edge functions: https://stackoverflow.com/questions/55128624/cloudfront-lambdaedge-set-cookie-on-viewer-request/55128779#55128779
- Cookie domains and subdomain access: https://stackoverflow.com/questions/18492576/share-cookie-between-subdomain-and-domain
- AWS Listener rules in terraform: https://www.terraform.io/docs/providers/aws/r/lb_listener_rule.html
- Fantastic typescript Lambda@Edge function for authenticating Cognito. I wish I'd found this resource first: https://github.com/aws-samples/cloudfront-authorization-at-edge
- Similarish design, but with CloudFormation: https://aws.amazon.com/blogs/networking-and-content-delivery/authorizationedge-using-cookies-protect-your-amazon-cloudfront-content-from-being-downloaded-by-unauthenticated-users/